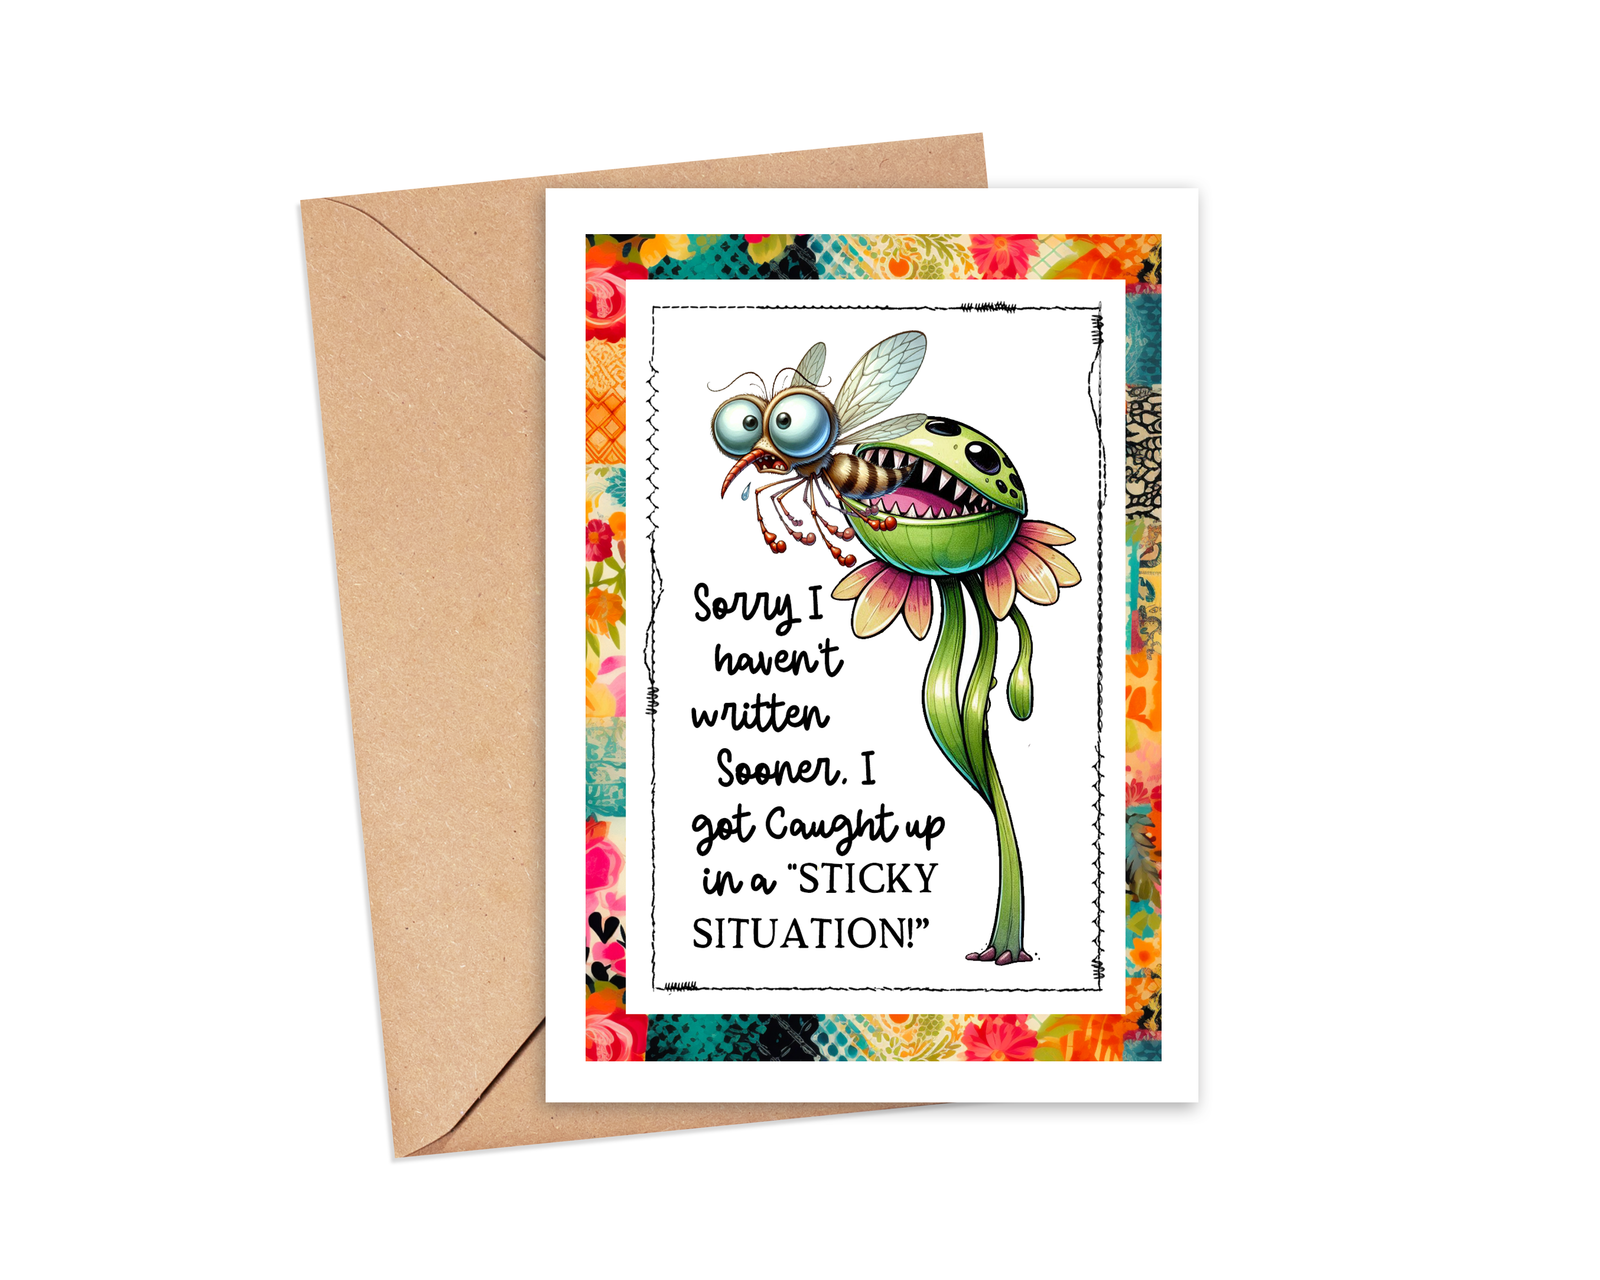
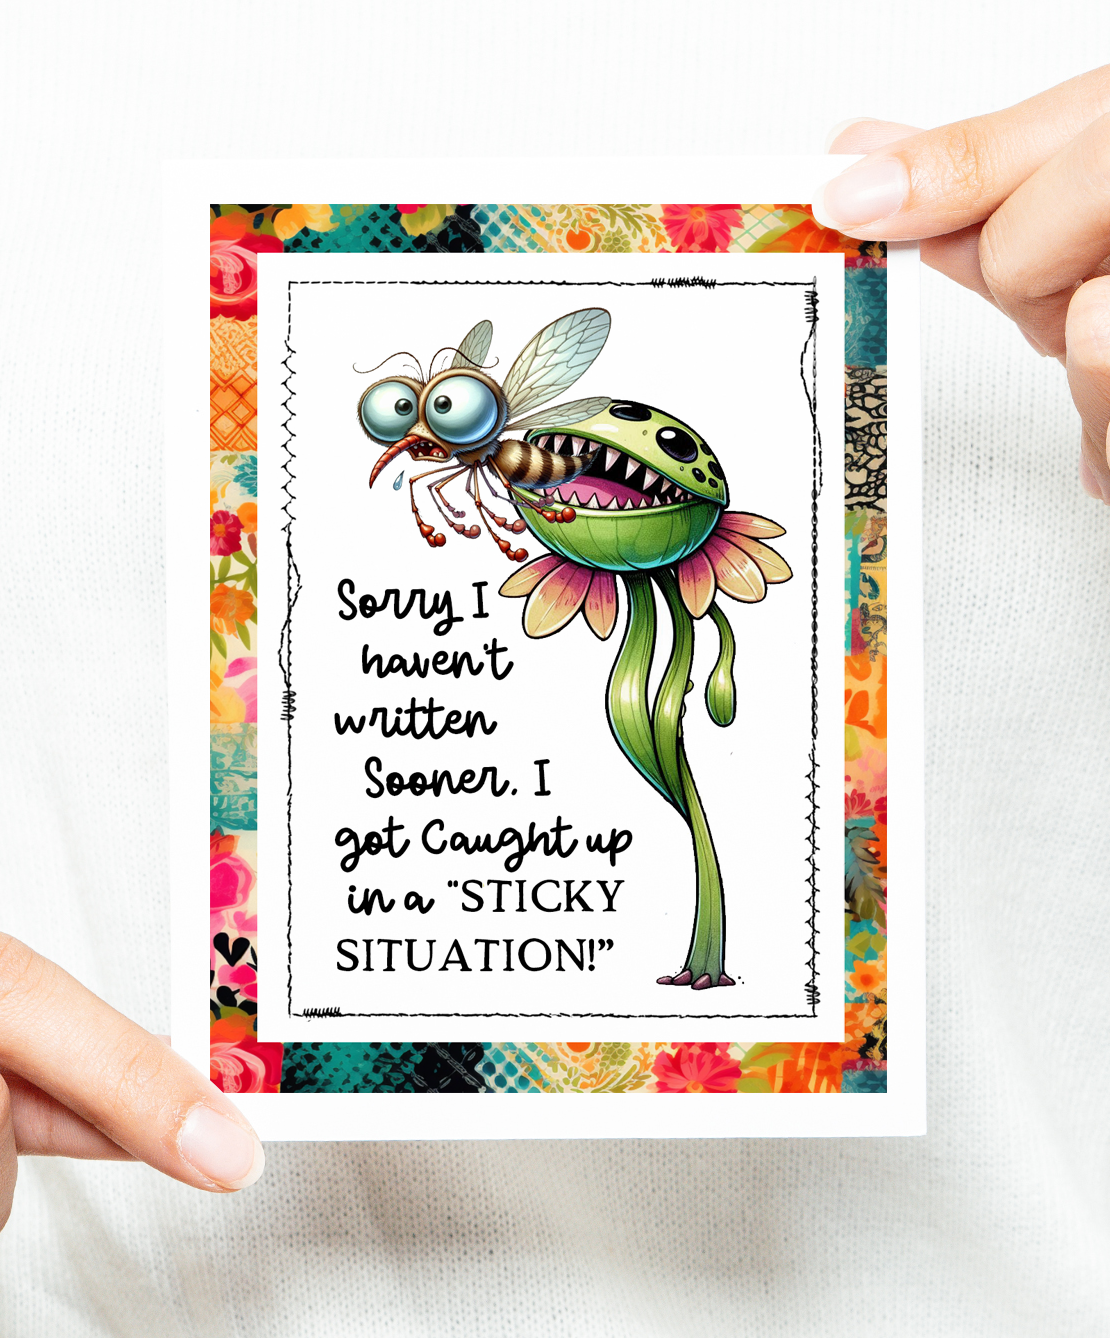
Venus Fly Trap “Sorry I Haven’t Written Sooner” – A2 Card Toppers Free PDF
Swoop into snail-mail swagger with the newly minted, utterly giggle-inducing “Sorry I Haven’t Written Sooner – Caught in a Sticky Situation” A2 card topper, featuring the ultimate misadventure of a googly-eyed mosquito!
This post contains affiliate links and I will be compensated if you make a purchase after clicking on my links.
This isn’t just any old card topper; it’s a work of art that combines slapstick humor with a dash of the great outdoors, flipped on its head. The star? A hilariously panicked mosquito with eyes so bulgy they could almost pop off the card, snagged by a grinning, mischievous Venus flytrap that’s definitely not on the usual menu.
The pun is just as juicy as our mosquito’s predicament: “Caught in a STICKY SITUATION!” It’s a playful poke at those times we’ve all been a bit tangled up in life’s unexpected moments. And let’s face it, who wouldn’t crack a smile at this bug’s little debacle?
Sending this card is like sending a dose of sunshine and silliness – a reminder not to take life too seriously. Your loved ones, friends, and even that distant acquaintance you’ve been meaning to reconnect with will be buzzing with laughter when they peel open the envelope.
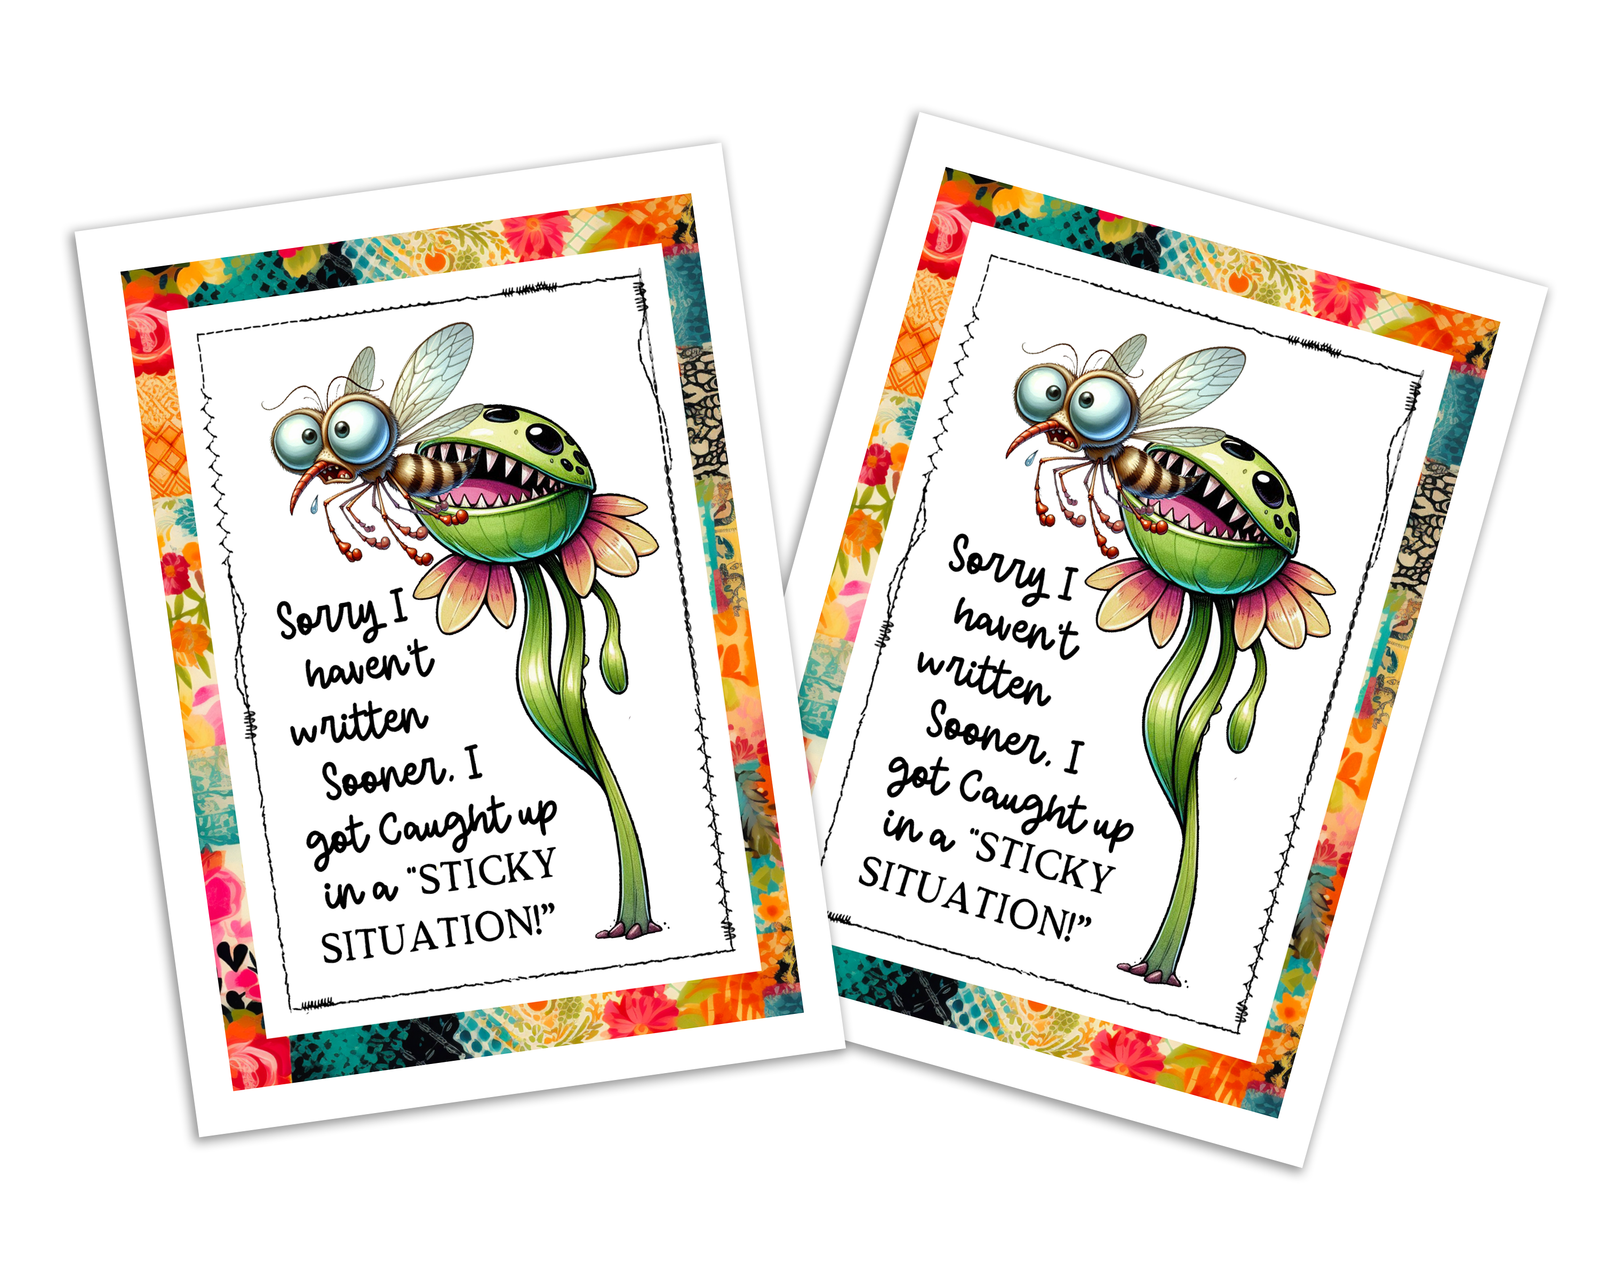
But wait, there’s more! Turn this into your crafty crusade. Printing and assembling these cards is as fun as finding a hidden trail during a summer hike. They make superb gifts, too! Imagine gifting a set to a friend – each card a promise of a smile and a nudge to write back.
Get your printers ready, unleash your inner craftsperson, and let’s send some buzz-worthy joy across the world. It’s time to make someone’s day with a mosquito caught in a moment of comic peril – because, let’s be honest, who can resist a laugh?
Stay crafty and keep buzzing!

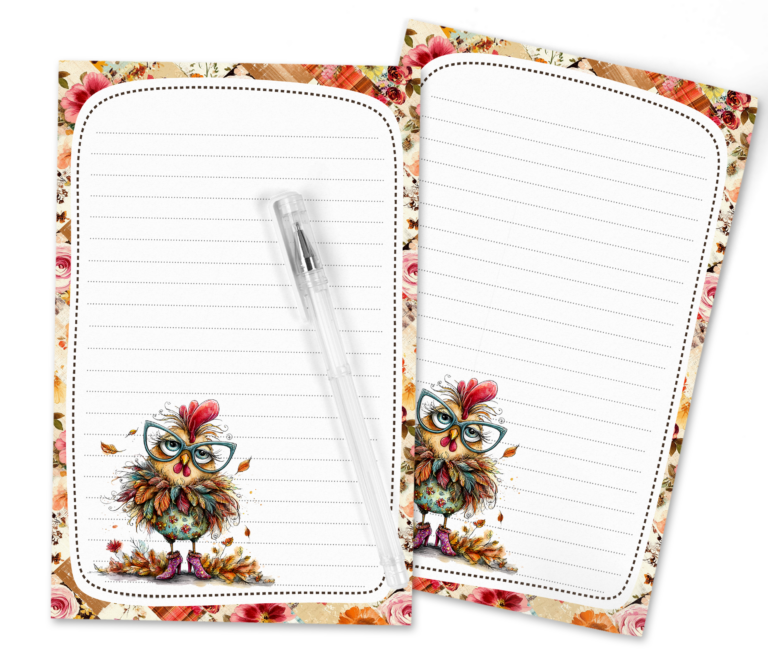
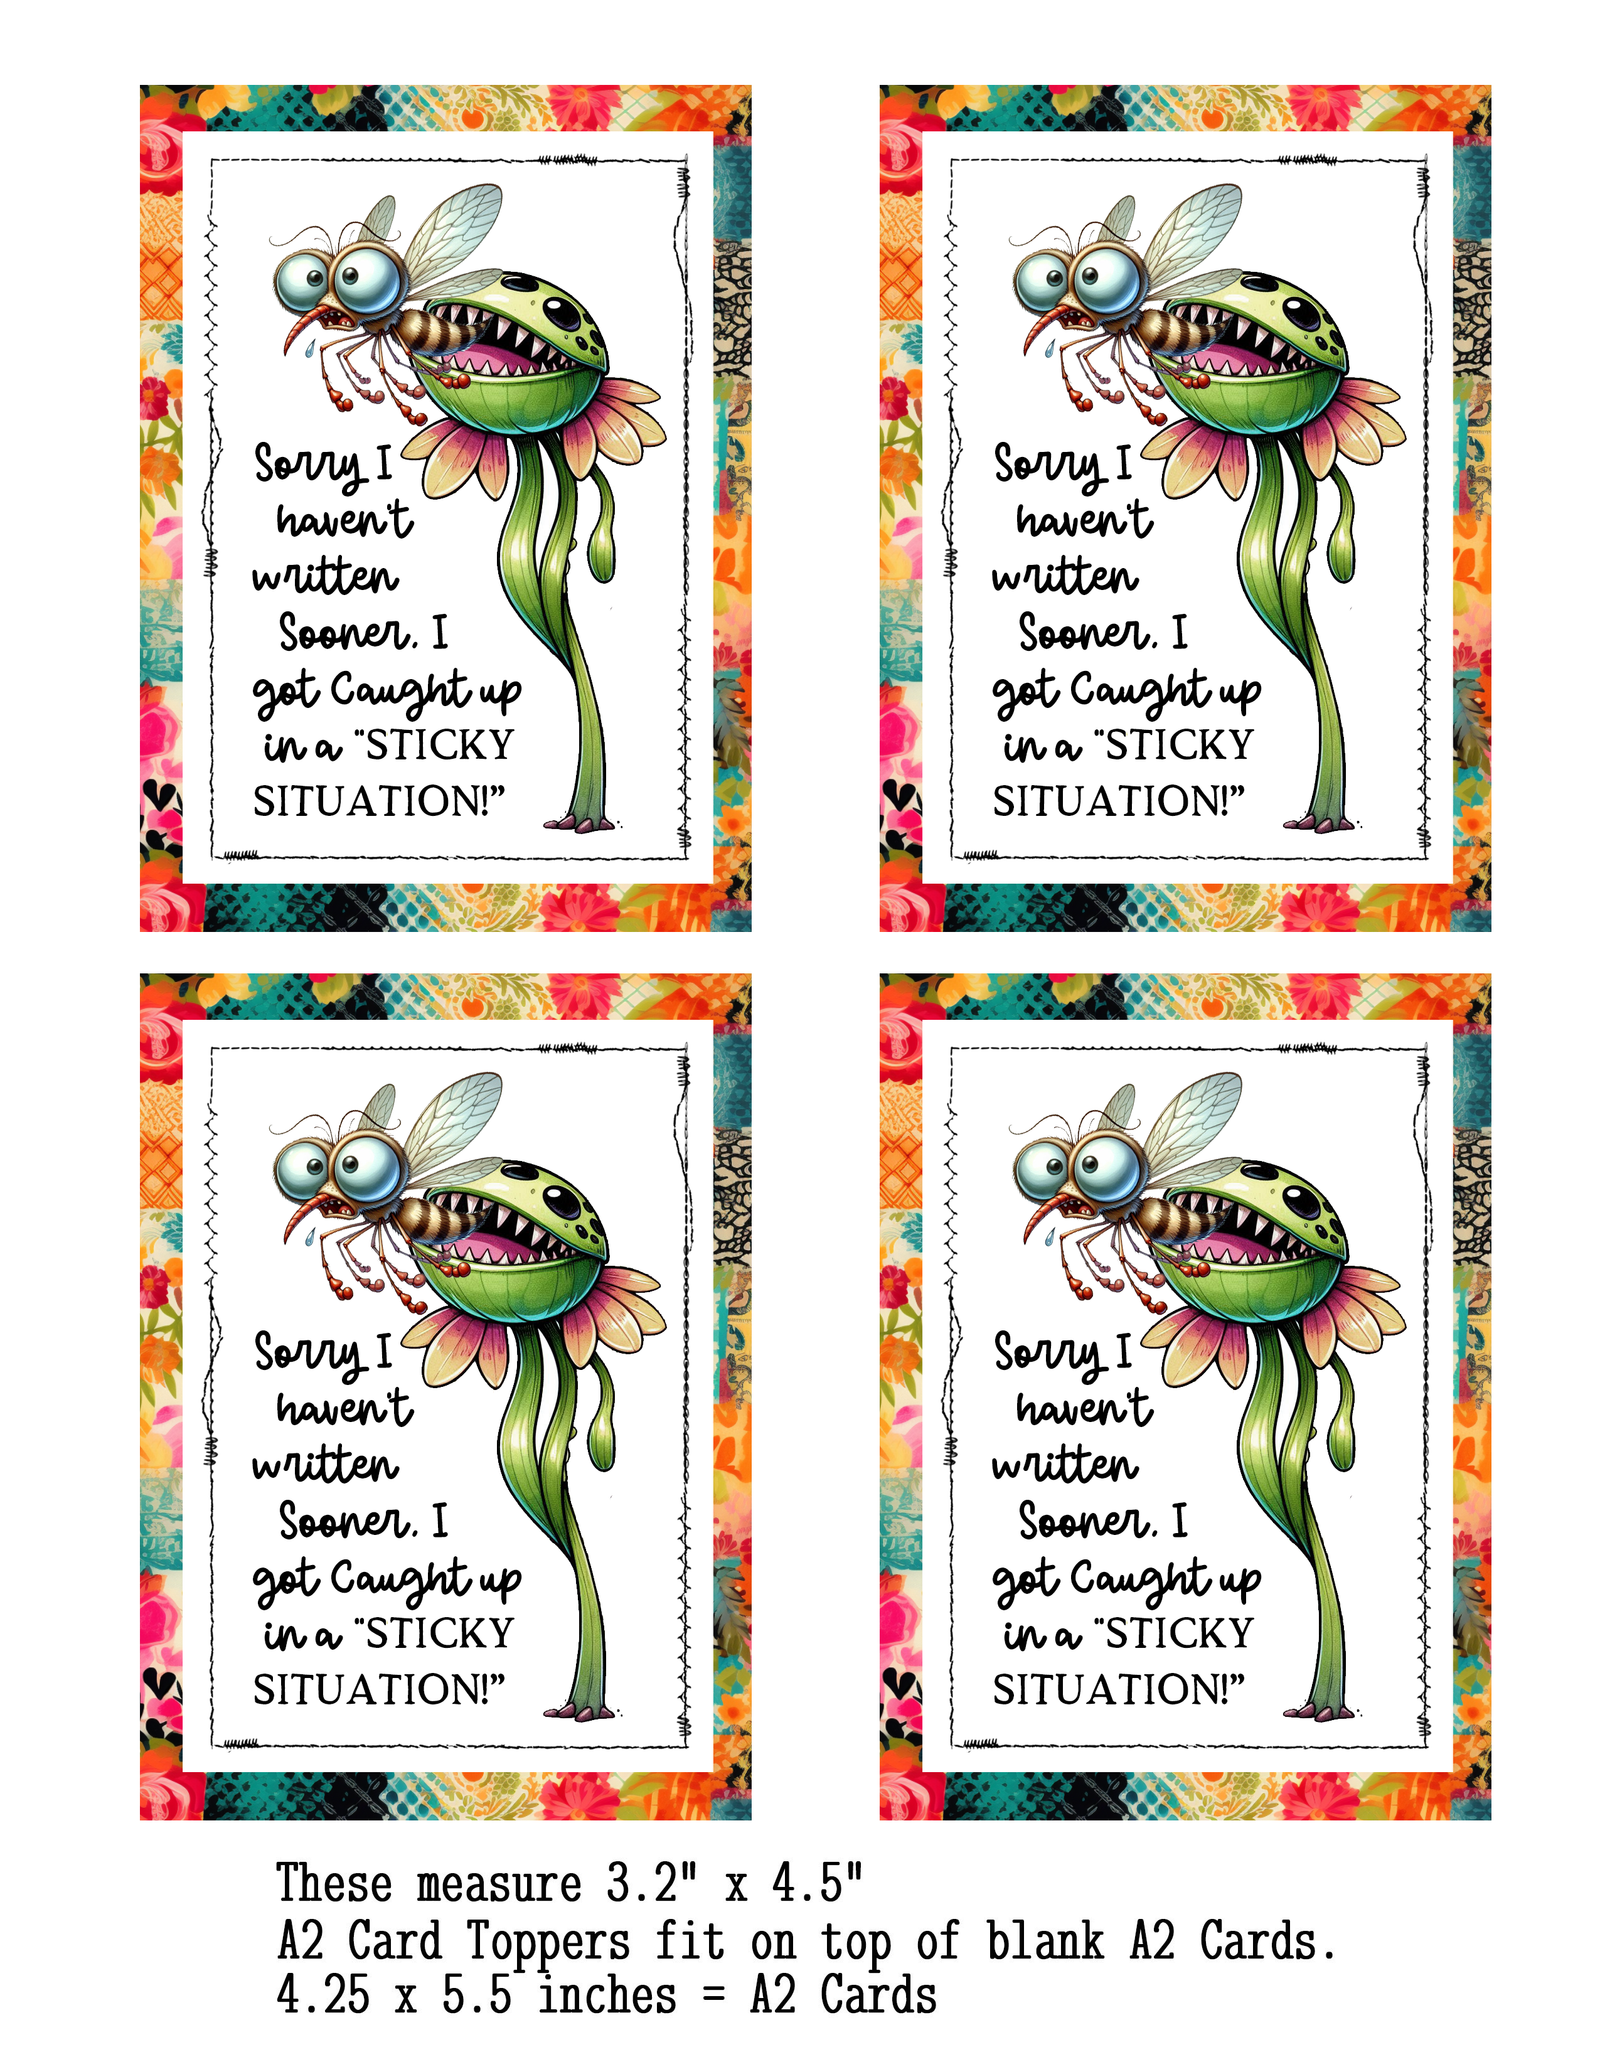
Please download the PDF files below for your stationery to print out the correct size. Images displayed here are for preview purposes only. All stationery is for personal use only.
I print off all my card toppers on to Canon Matte Photo Paper 8.5″ x 11″
Venus Fly Trap “Sorry I Haven’t Written Sooner – A2 Card Toppers
Personal Use & Commercial Use
Commercial use terms: You can create tangible items to sell ( not digital downloads ) credit to my website is appreciated but not required.
Download Here: Venus Fly Trap Sorry Haven’t Written Sooner Set
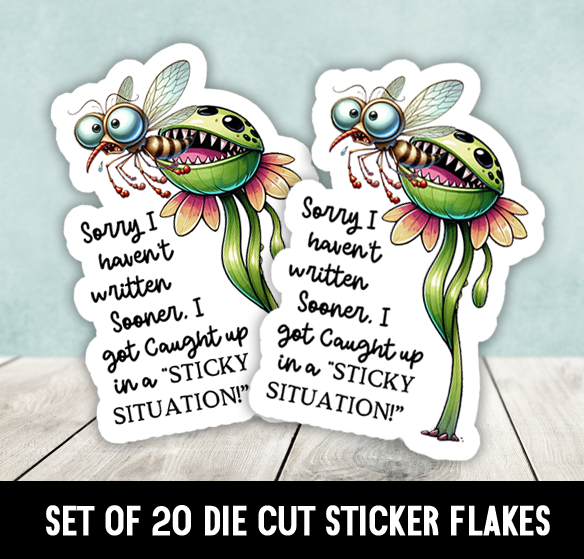
Matching Sticker Sets Can Be Purchased Here: Venus Fly Trap Sorry I Haven’t Written Sooner! by StickersByKristi Ebay
I print my card toppers out on to Canon Matte Photo Paper for vivid print outs. Letter size 8.5″ x 11″
Click Here To Purchase From Amazon

I use this brand of double sided tape for adhering my card toppers to the base.
1/4 inch Double-Sided Adhesive Sticky Tapes for Crafts Scrapbooking, Photos, Invitation Cards, Paper, DIY and Office School Stationery Supplies (8 Rolls)
Click Here To Purchase From Amazon
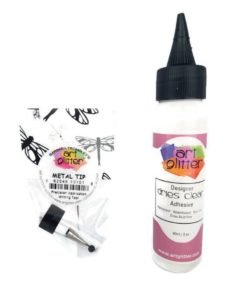
I use this brand of glue to adhere sequins, flat back gems, buttons, and other decorations to adhere to the card topper for added decor.
Art Glitter Glue Dries Clear Adhesive 2 oz with Ultra Fine Metal Tip
Click Here To Purchase From Amazon
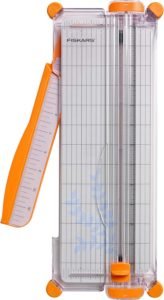
I use this trimmer to trim the A2 toppers for a straight cut each and every time as it includes a guide wire!
Fiskars SureCut Portable Paper Trimmer 12 Inch Cut
Click Here To Purchase From Amazon
Printing Your A2 Card Topper
- Materials Needed:
- A color printer
- High-quality cardstock paper (preferably A4 or letter size)
- A2 card topper digital file
- Preparation:
- Ensure your printer’s ink levels are sufficient for a full-color print.
- Open the A2 card topper file on your computer.
- Printer Settings:
- Set your printer to the highest quality setting to ensure the colors are vibrant and the image is clear.
- Select ‘Photo Printing’ if available.
- Choose the correct paper size (A4 or letter) and select ‘Cardstock’ as the media type.
- Printing:
- Load the cardstock into the printer tray.
- Click ‘Print’ and wait for the printout to finish.
Cutting Your A2 Card Topper
- Materials Needed:
- A sharp pair of scissors or a paper trimmer
- A ruler
- Cutting:
- Use the ruler to measure and mark the cutting lines, following the border of the card topper design.
- With the scissors or paper trimmer, carefully cut along the marked lines.
Adhering the Topper to the Card
- Materials Needed:
- Blank A2-sized greeting cards (4.25″ x 5.5″)
- Double-sided tape or glue stick
- Bone folder or a flat, smooth tool (optional)
- Adhesion:
- Apply double-sided tape or glue evenly on the back of the cut topper, ensuring you get close to the edges for a secure fit.
- Align the topper with the front of the blank card carefully.
- Press down firmly from the center towards the edges. For best results, use a bone folder or a similar tool to smooth out any bubbles and to make sure the topper is well adhered without damaging the card or the design.
Final Touches
- Inspect: After adhering, inspect the card for any edges that may need additional pressure or adhesive.
- Dry: If using glue, allow sufficient time to dry before handling further.
Tips
- Always perform a test print on regular paper to ensure the design aligns with your expectations.
- For an extra professional touch, consider using a scoring board to create a clean fold on handmade cards.
- Customize the card by adding additional decorations such as rhinestones, ribbons, or personal messages.
With these instructions, you’re all set to create beautiful, hand-crafted cards featuring the A2 card toppers for any occasion!