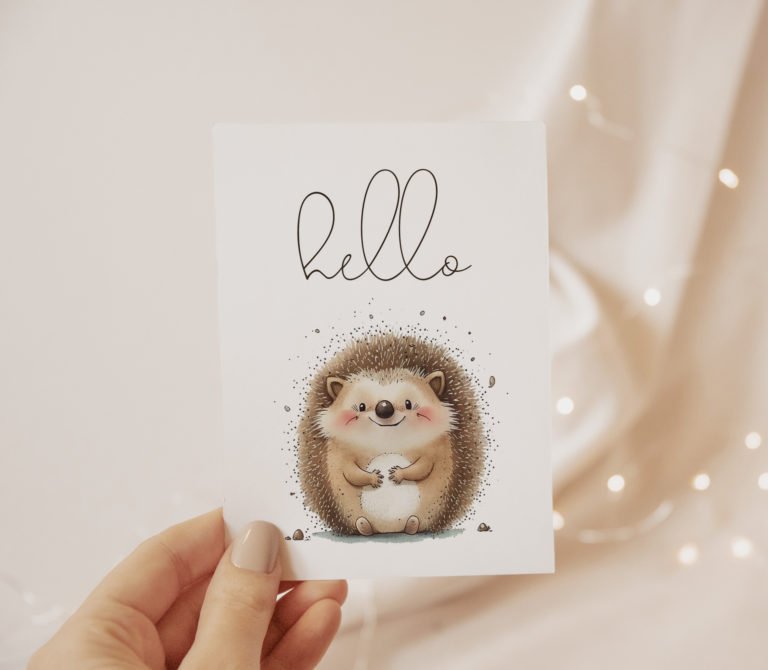
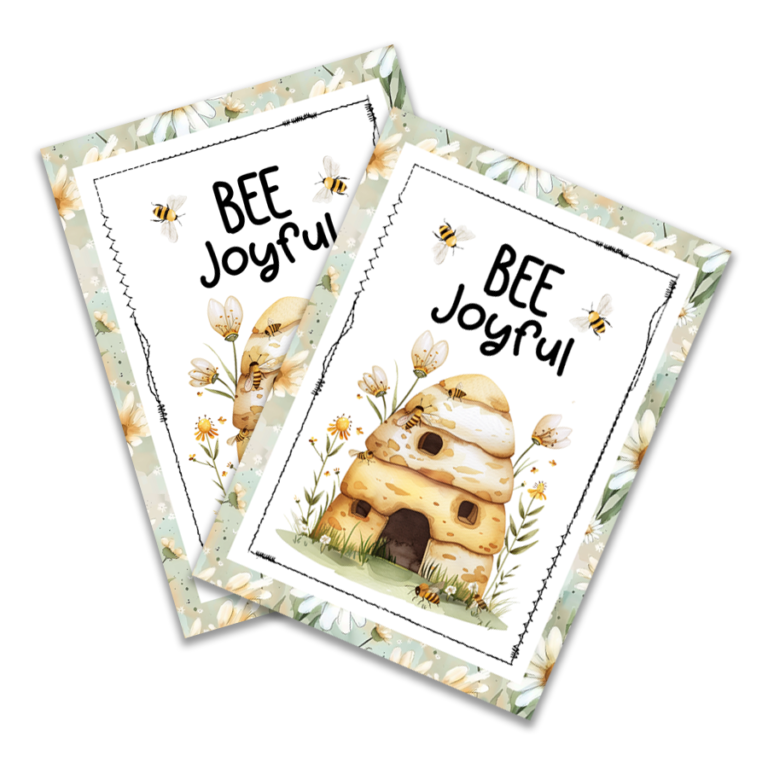
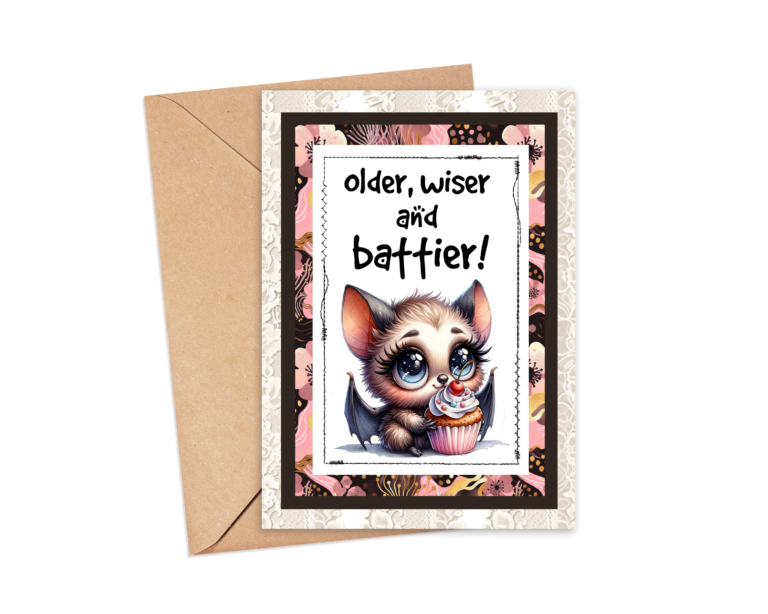
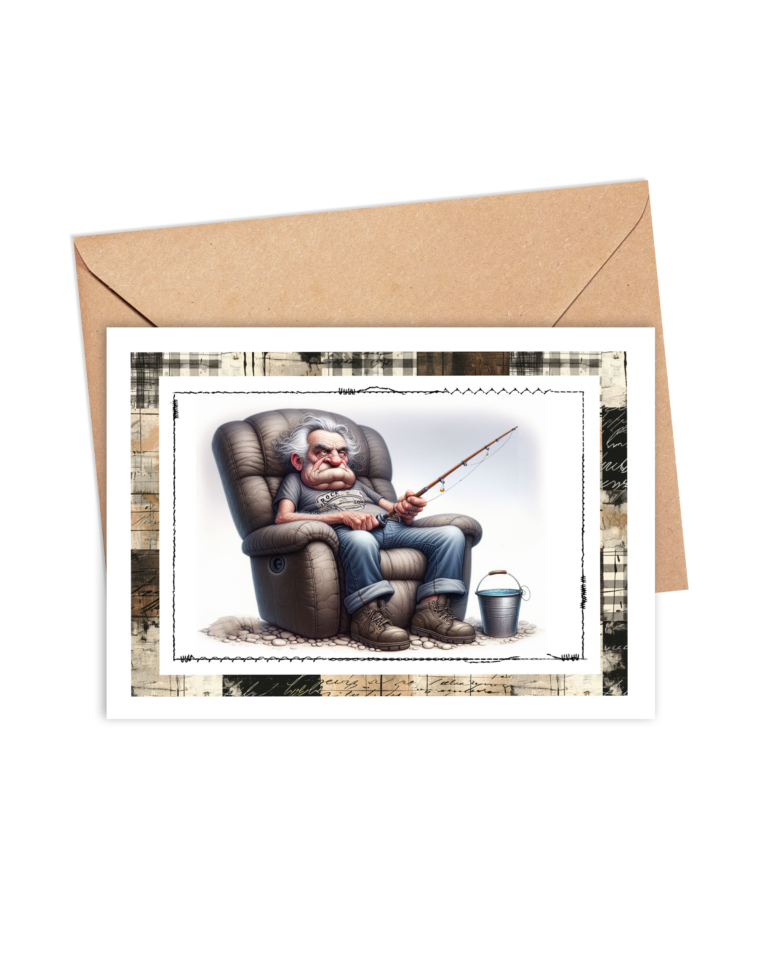
A2 Card Toppers Hello Fall Caramel Apple Mouse
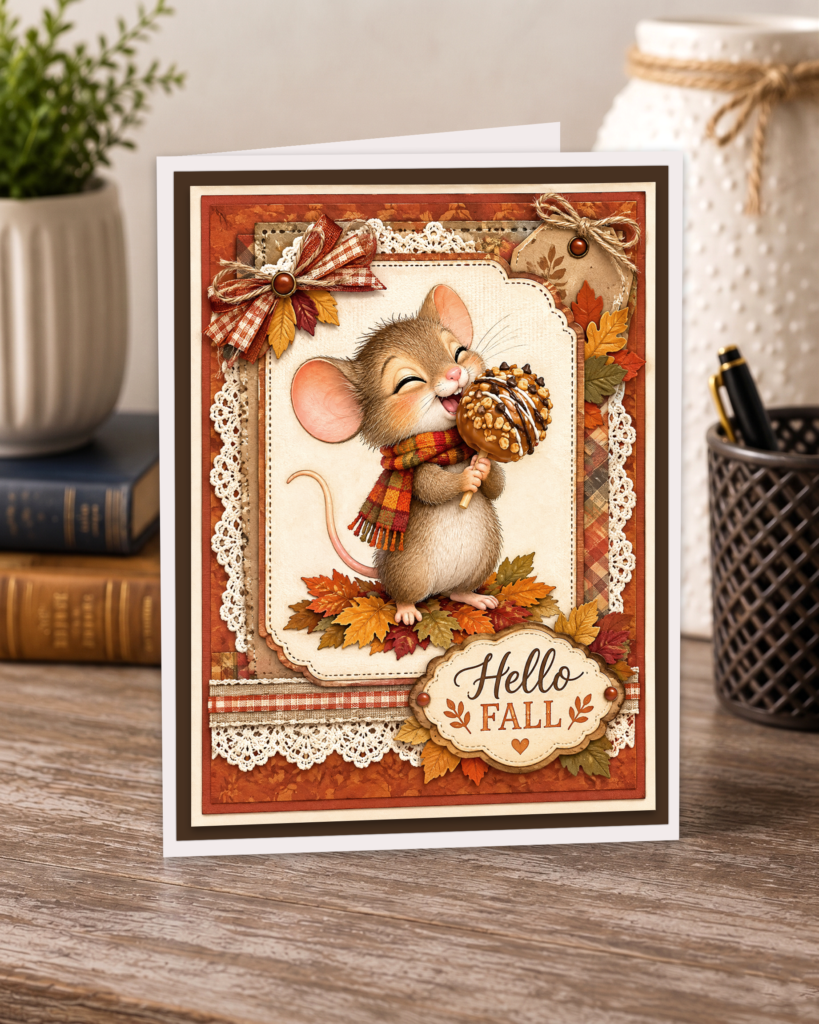
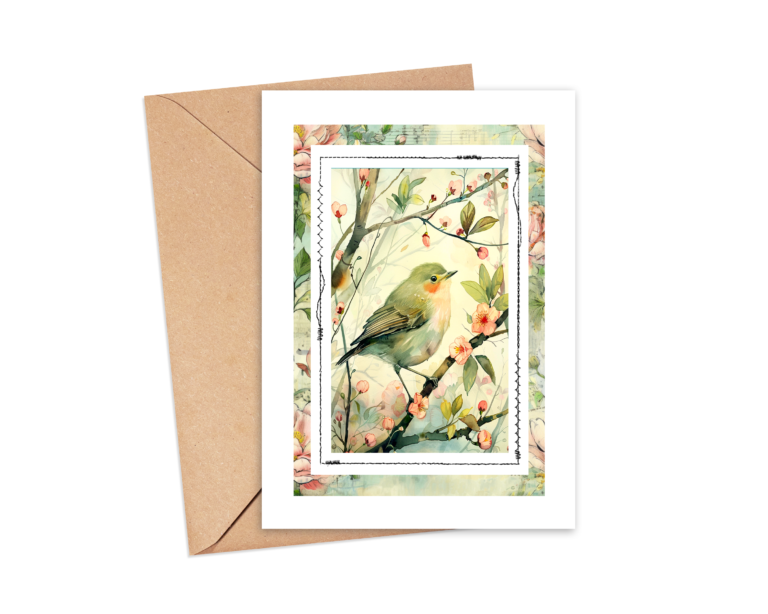
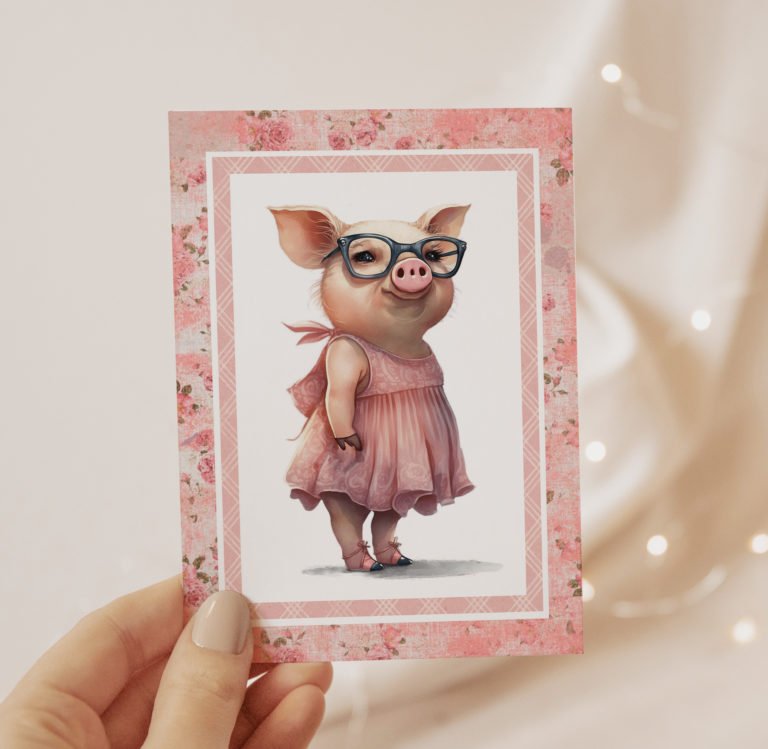
This download includes 4 card toppers which you can easily cut with scissors or your paper trimmer. It is a faux layered look card which helps keep expenses down when mailing out cards. Cut out a mat measuring 4″ wide by 5 1/4″ height to place this topper on, then place on a blank A2 card. You can create the base A2 card by cutting a piece of cardstock that measures 8.5″ x 11″ in half which makes 2 card bases.
This post contains affiliate links and I will be compensated if you make a purchase after clicking on my links.
personal use
How to Print Your A2 Card Toppers
For the best results, download the PDF to your computer and open it with the free Adobe Acrobat Reader. Avoid printing directly from your internet browser, as browser print settings may resize the page.
- Load 8.5 × 11-inch Canon Matte Photo Paper or bright-white cardstock into your printer. If your printer has a rear paper tray, use it for thicker paper.
- In Adobe Acrobat Reader, select Print or press Ctrl + P.
- Choose your printer and confirm that the paper size is set to Letter—8.5 × 11 inches.
- Under Page Sizing & Handling, select Actual Size. Make sure the scale shows 100%. Do not select “Fit” or “Shrink Oversized Pages,” because these settings can change the finished size of the cards. Adobe confirms that “Actual Size” prints the PDF without scaling. Adobe printing guidance
- Select Portrait orientation and print one-sided.
- Open Printer Properties, Preferences, or Print Settings to choose the correct paper option:
- For Canon Matte Photo Paper, select Matte Photo Paper as the media type and choose High or Best print quality.
- For bright-white cardstock, choose Cardstock, Heavy Paper, or the closest compatible setting offered by your printer. If none is available, use the setting recommended for your cardstock’s weight.
- Make sure Borderless Printing is turned off. The printable includes its own white margins and cutting space.
- Check the print-preview window to make sure the entire page is visible and nothing is being cropped.
- Print one test page before printing additional copies.
Allow the ink to dry completely before cutting, especially when using matte photo paper. For clean edges, trim the cards with a paper trimmer or a sharp craft knife and ruler.
Helpful tip: Print on matte photo paper for rich colors and crisp decorative details. Choose bright-white cardstock when you want sturdier cards for bookmarks, journal pockets, happy mail, flat mail, gift tags, or Blind Date With a Book projects.