May Chapters And Blooms Brighten Your Day A2 Card Topper Cottage Chic Book Stack Free Printable PDF
Step-by-step guide for crafting elegant handmade cards with A2 card toppers. Print, cut, and adhere beautiful designs to create personalized greetings for any occasion. Perfect for DIY enthusiasts and card makers. This post contains affiliate links and I will be compensated if you make a purchase after clicking on my links.
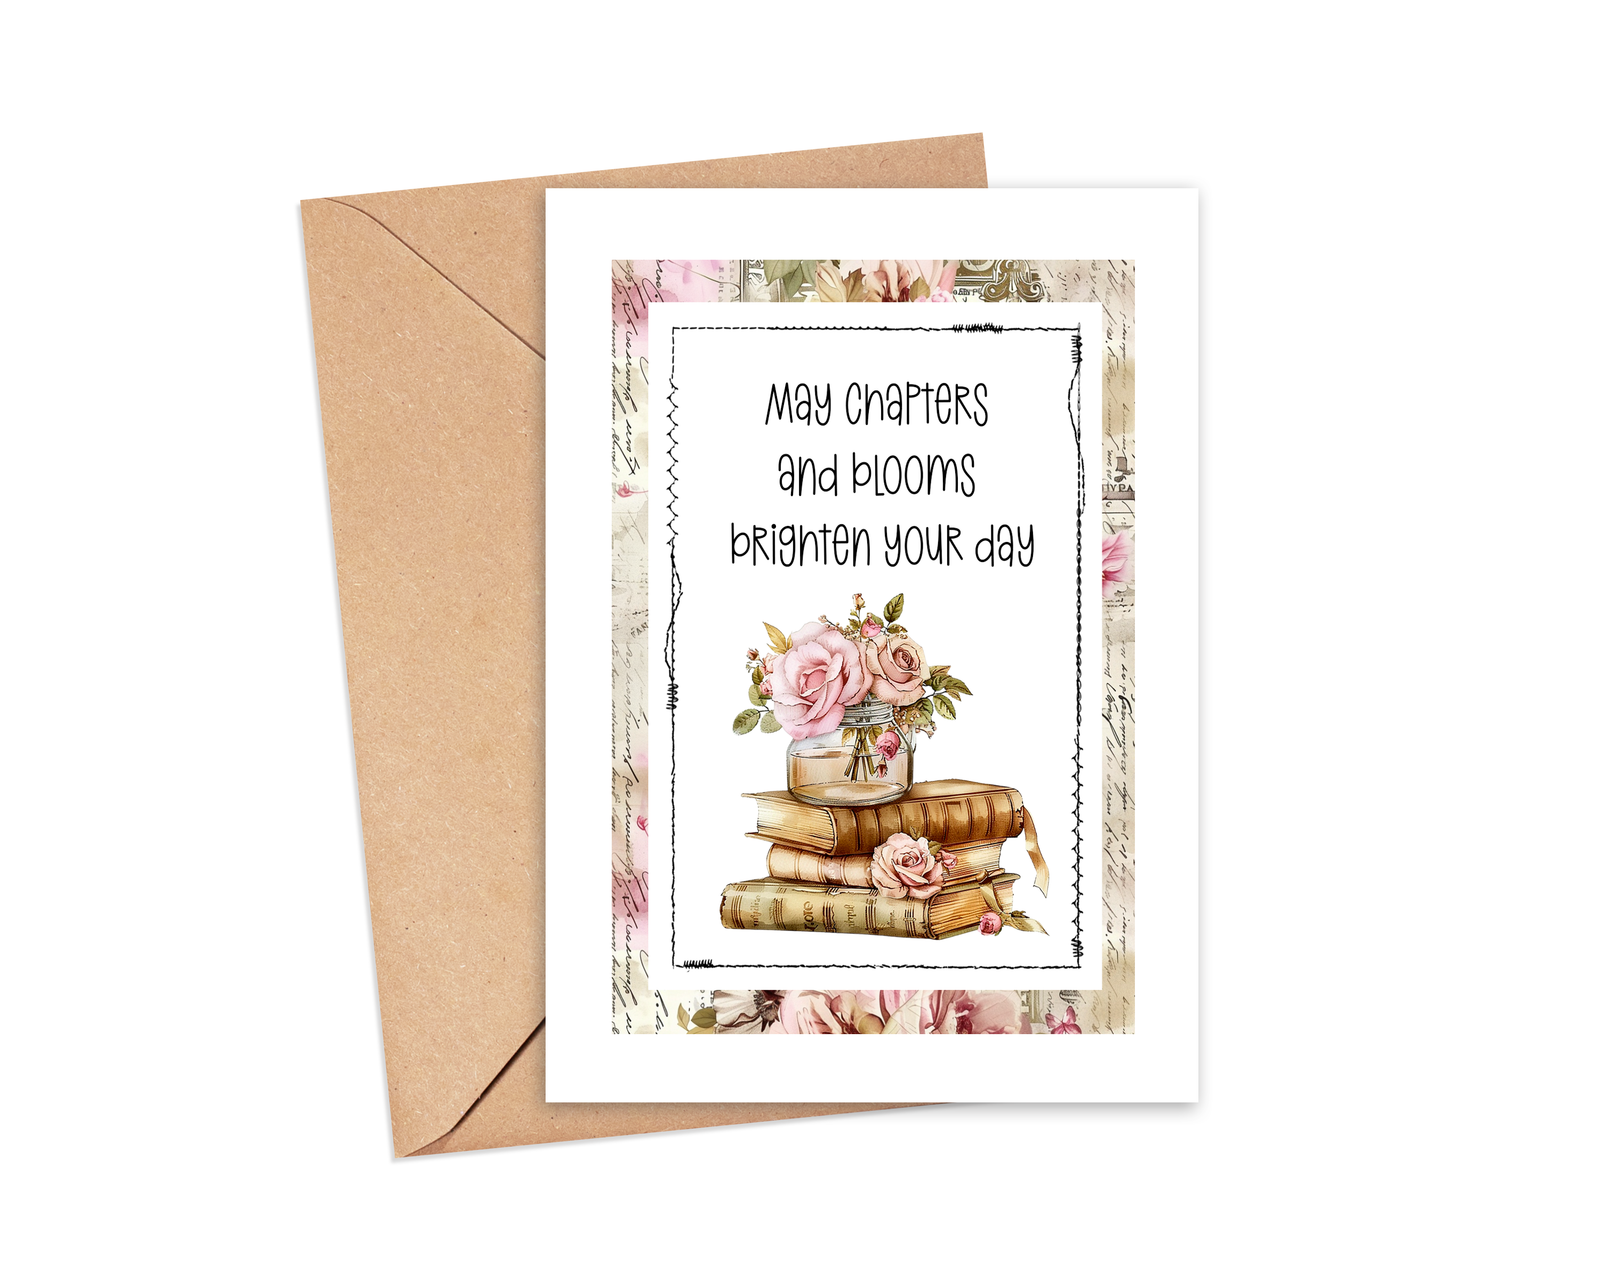
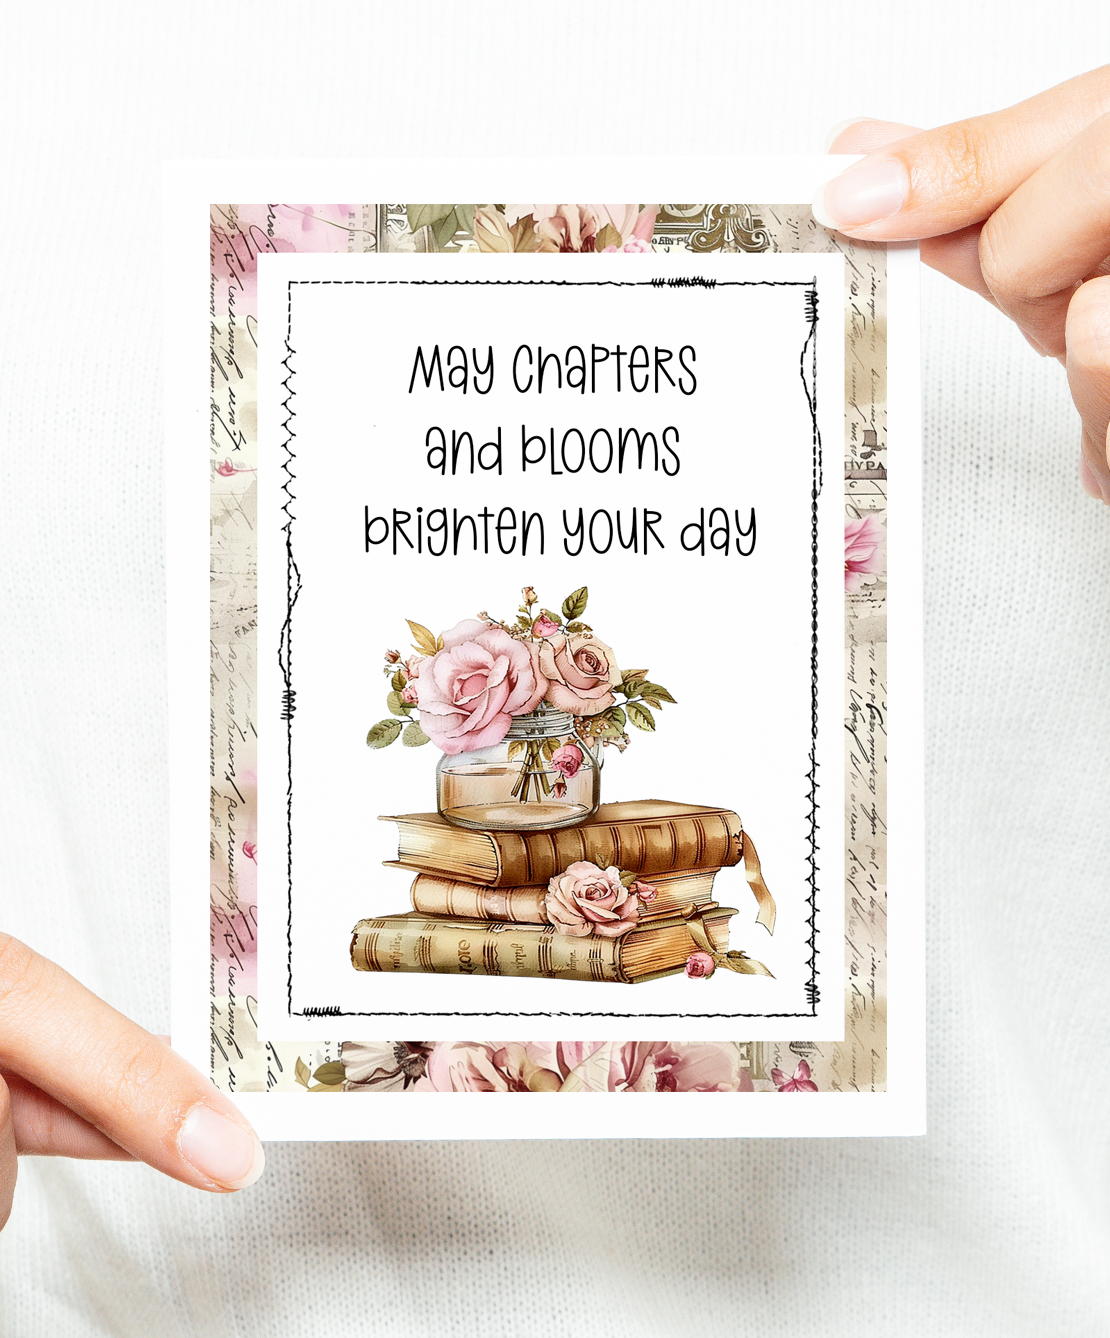
Step into a world where literature and nature intertwine gracefully! This delightful A2 card topper beckons you to a serene retreat of imagination and tranquility. Imagine yourself nestled in a cozy nook, the sweet scent of roses mingling with the nostalgic aroma of old books. Each book, a bound trove of adventures waiting to whisk you away, is adorned with the soft, velvety touch of pink blossoms, symbolizing the growth and beauty that stories bring to our lives. As you gaze upon this charming scene, let it remind you of lazy afternoons spent under the shade of a blossoming tree, lost in a good book. It’s not just a card; it’s an invitation to revel in the simple pleasures that make life truly enchanting.

Please download the PDF files for your stationery to print out the correct size. Images displayed here are for preview purposes only. All stationery is for personal use only.
I print off all my card toppers on to Canon Matte Photo Paper 8.5″ x 11″
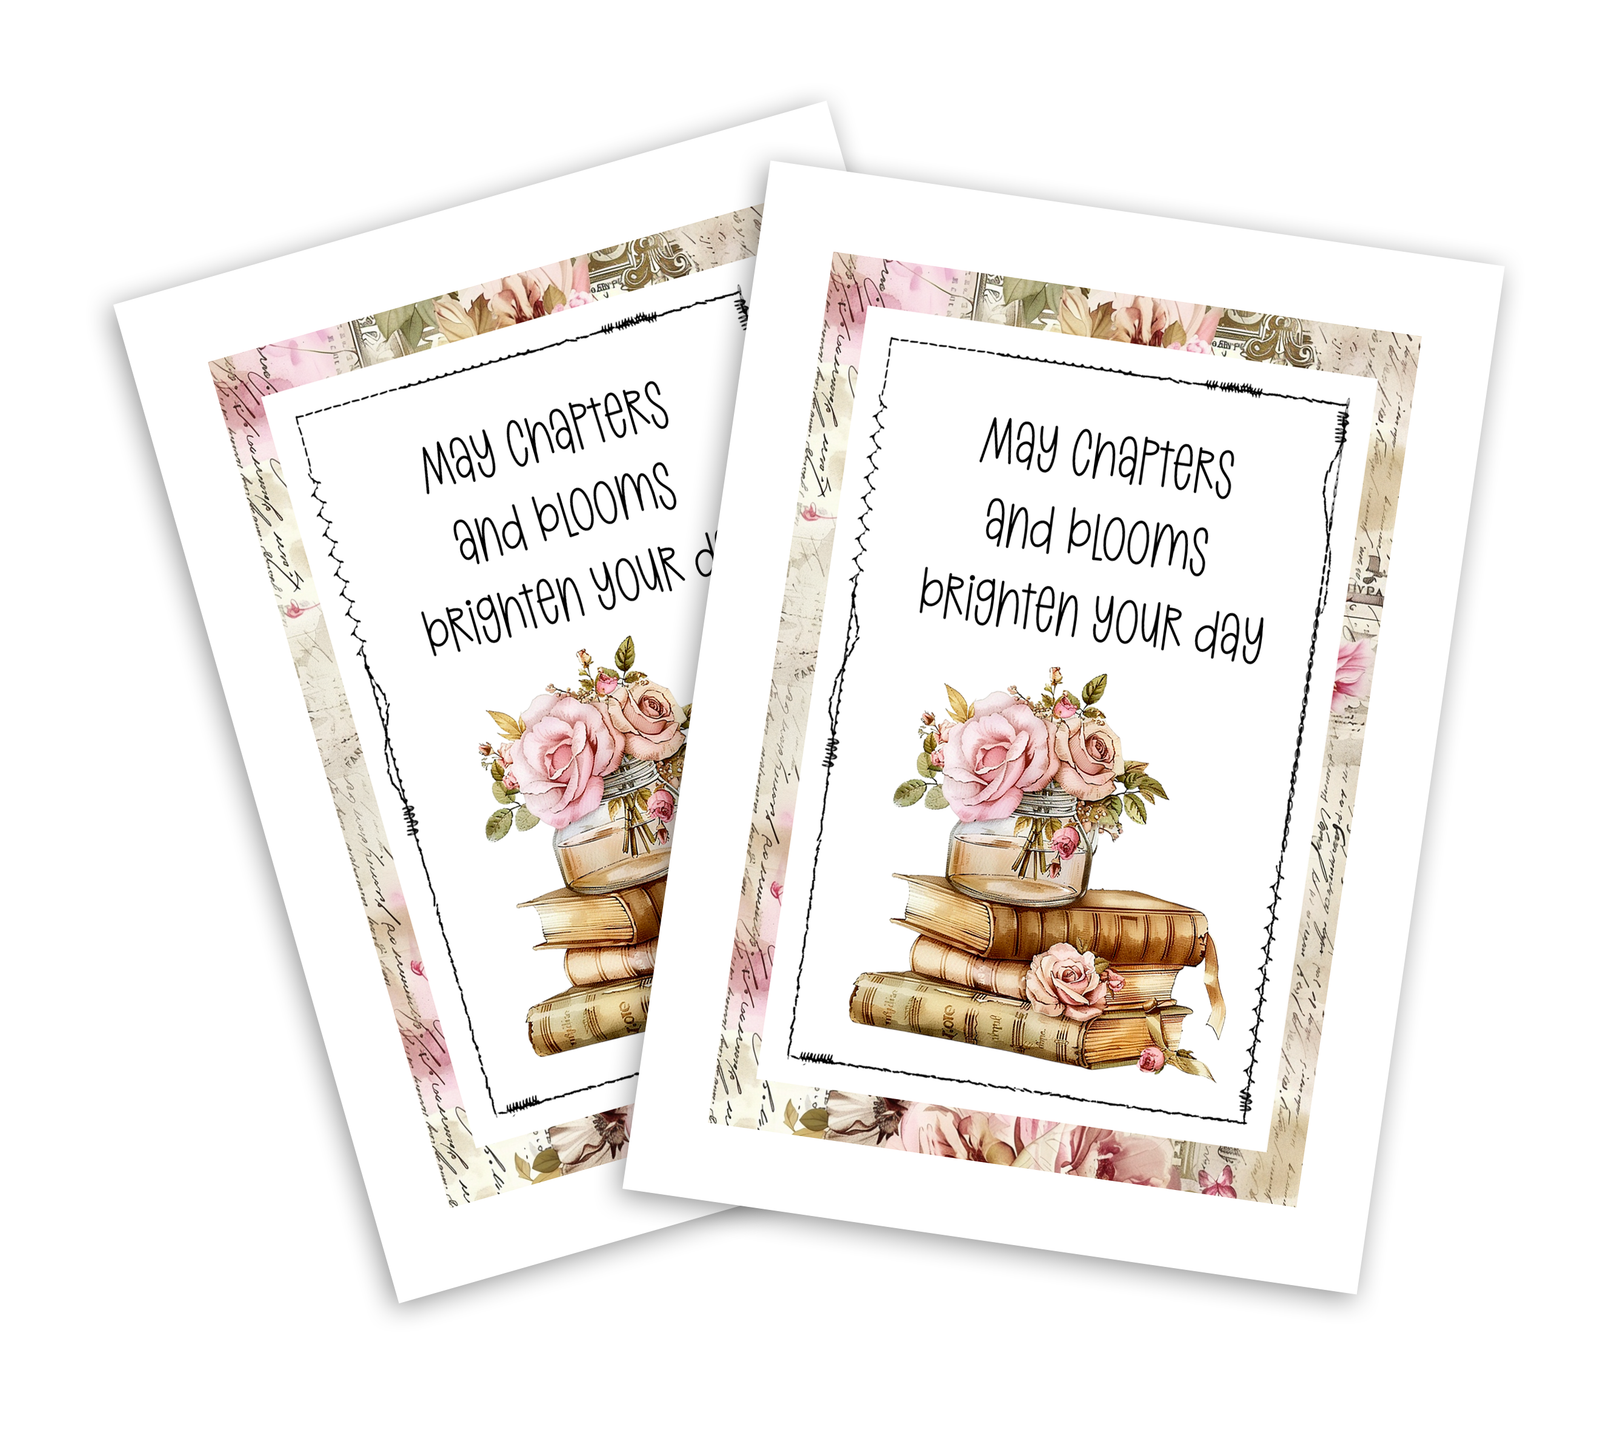
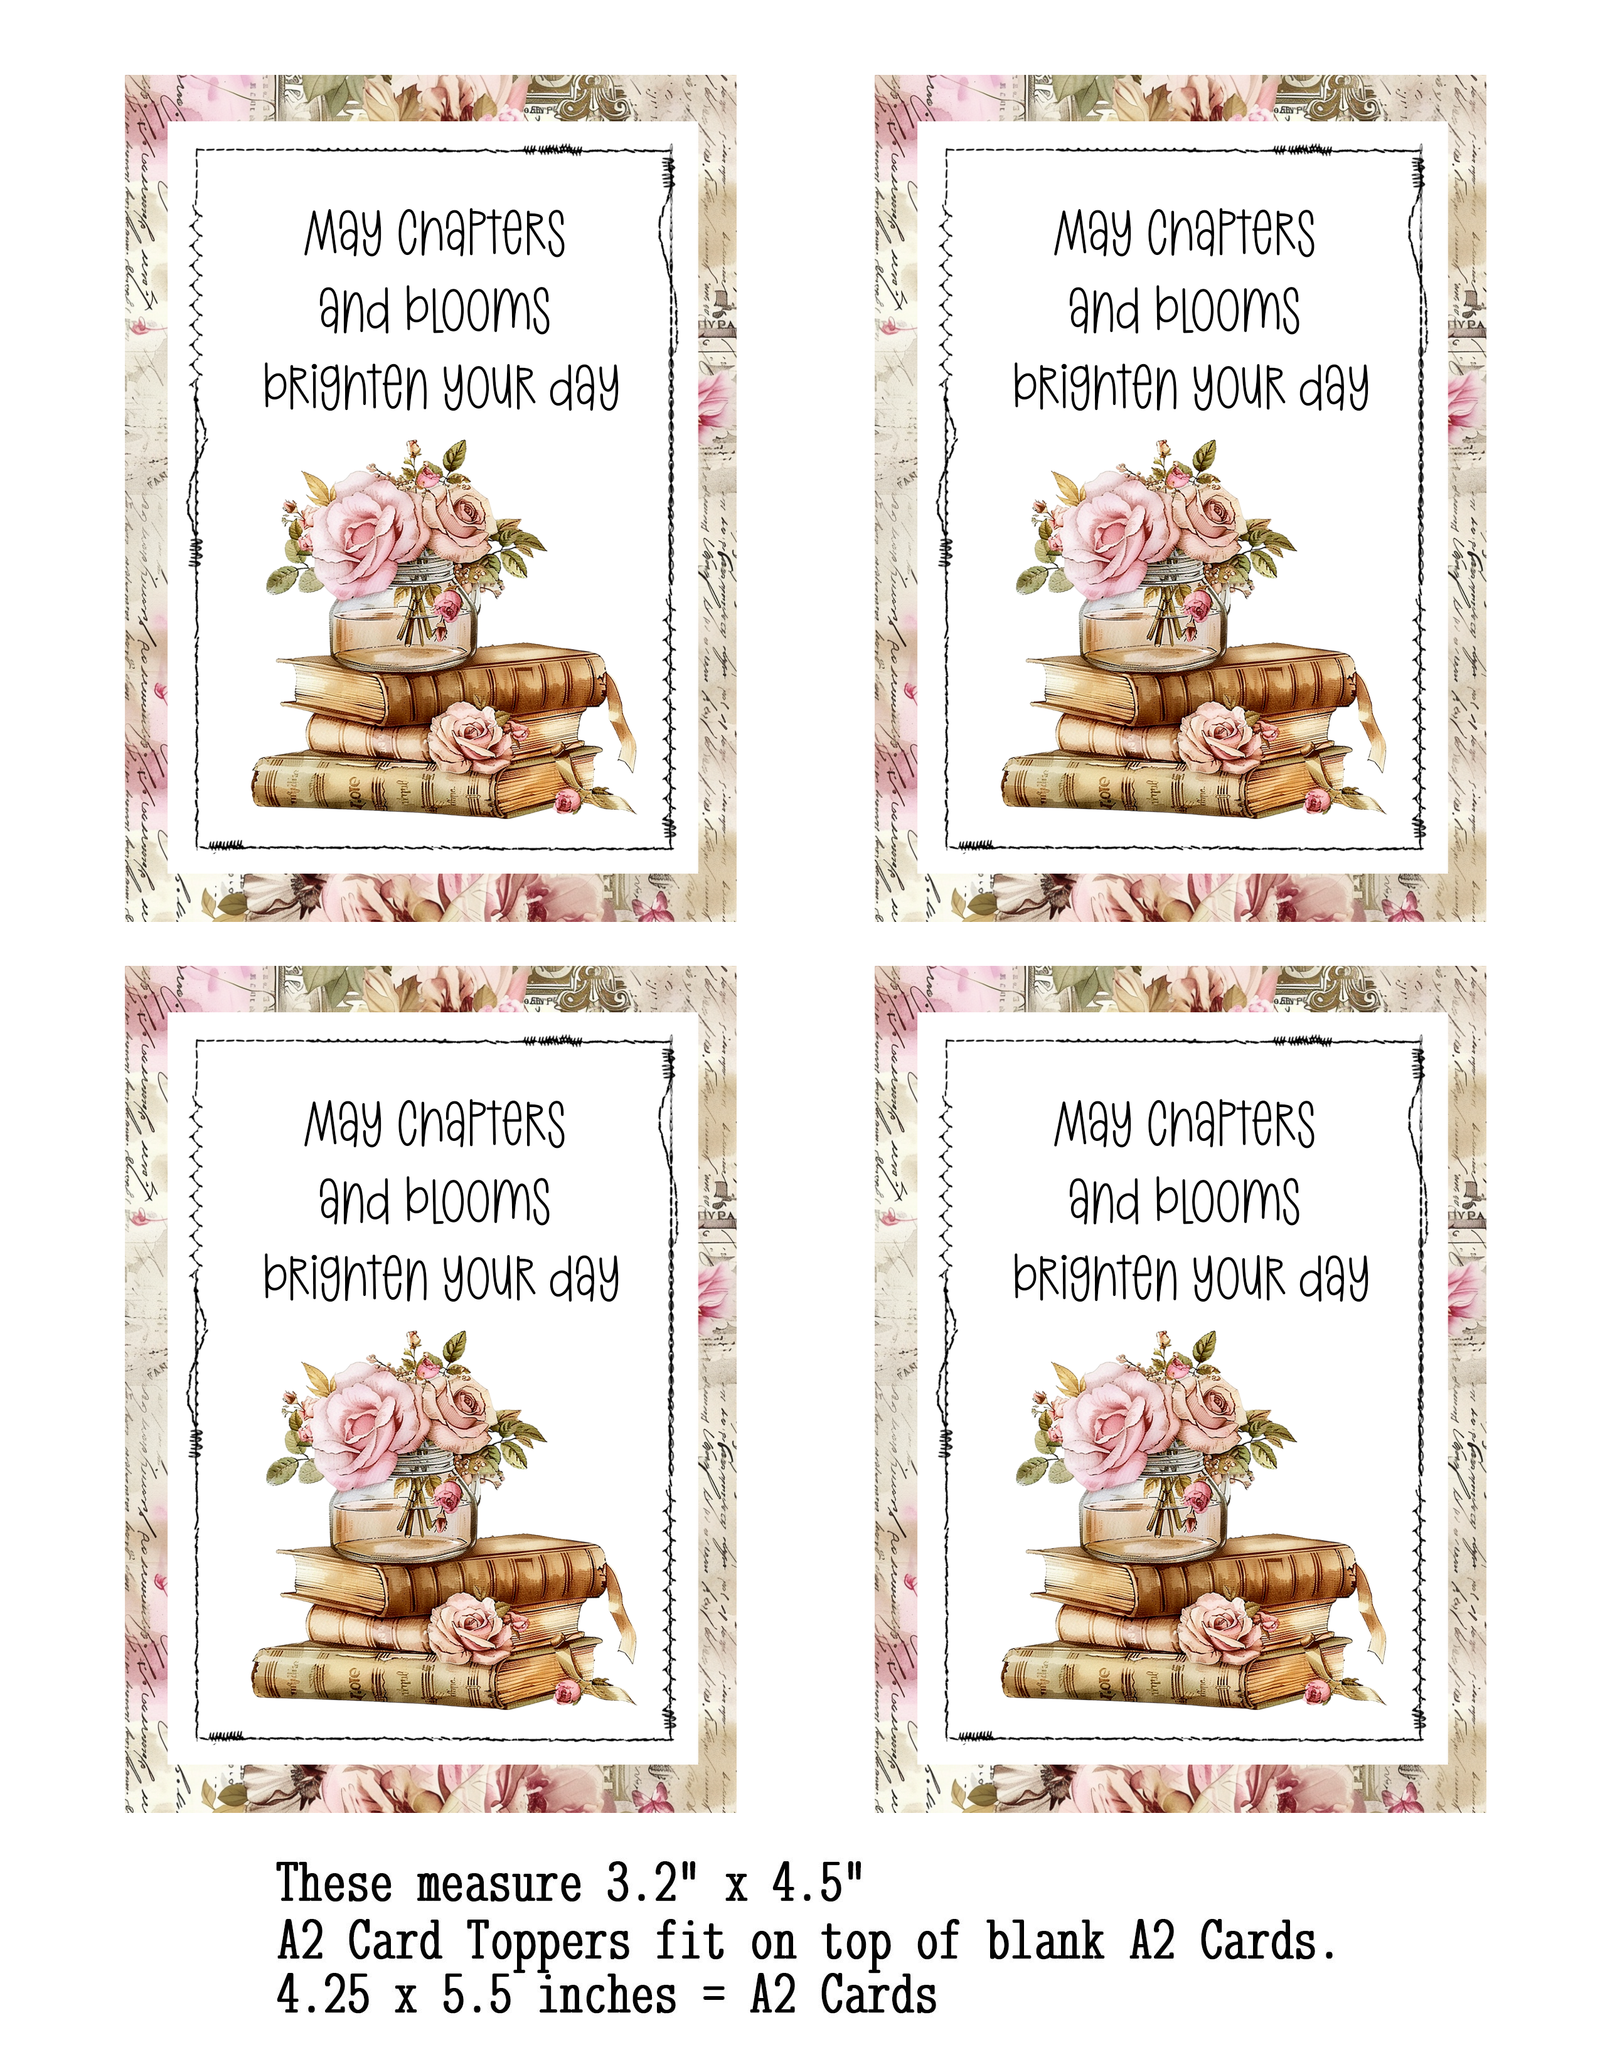
Cottage Chic Book Stack – A2 Card Toppers
Personal Use & Commercial Use
Commercial use terms: You can create tangible items to sell ( not digital downloads ) credit to my website is appreciated but not required.
Download Here: A2 Card Topper Cottage Chic Book Stack Set
Blank Cottage Chic Book Stack – A2 Card Toppers
Personal Use & Commercial Use
Commercial use terms: You can create tangible items to sell ( not digital downloads ) credit to my website is appreciated but not required.
Download Here: A2 Card Topper Blank Cottage Chic Book Stack Set
You can use your stamp sentiments on these toppers to create different varieties of cards for all occasions.
![]()
This Cottage Chick Book Stack A2 card topper was created using the font below:
Best Friend Font – CreativeFabrica

I print my card toppers out on to Canon Matte Photo Paper for vivid print outs. Letter size 8.5″ x 11″
Click Here To Purchase From Amazon

I use this brand of double sided tape for adhering my card toppers to the base.
1/4 inch Double-Sided Adhesive Sticky Tapes for Crafts Scrapbooking, Photos, Invitation Cards, Paper, DIY and Office School Stationery Supplies (8 Rolls)
Click Here To Purchase From Amazon

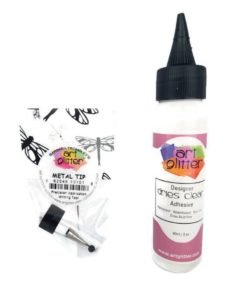
I use this brand of glue to adhere sequins, flat back gems, buttons, and other decorations to adhere to the card topper for added decor.
Art Glitter Glue Dries Clear Adhesive 2 oz with Ultra Fine Metal Tip
Click Here To Purchase From Amazon
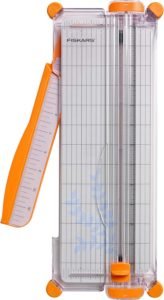
I use this trimmer to trim the A2 toppers for a straight cut each and every time as it includes a guide wire!
Fiskars SureCut Portable Paper Trimmer 12 Inch Cut
Click Here To Purchase From Amazon
Printing Your A2 Card Topper
- Materials Needed:
- A color printer
- High-quality cardstock paper (preferably A4 or letter size)
- A2 card topper digital file
- Preparation:
- Ensure your printer’s ink levels are sufficient for a full-color print.
- Open the A2 card topper file on your computer.
- Printer Settings:
- Set your printer to the highest quality setting to ensure the colors are vibrant and the image is clear.
- Select ‘Photo Printing’ if available.
- Choose the correct paper size (A4 or letter) and select ‘Cardstock’ as the media type.
- Printing:
- Load the cardstock into the printer tray.
- Click ‘Print’ and wait for the printout to finish.
Cutting Your A2 Card Topper
- Materials Needed:
- A sharp pair of scissors or a paper trimmer
- A ruler
- Cutting:
- Use the ruler to measure and mark the cutting lines, following the border of the card topper design.
- With the scissors or paper trimmer, carefully cut along the marked lines.
Adhering the Topper to the Card
- Materials Needed:
- Blank A2-sized greeting cards (4.25″ x 5.5″)
- Double-sided tape or glue stick
- Bone folder or a flat, smooth tool (optional)
- Adhesion:
- Apply double-sided tape or glue evenly on the back of the cut topper, ensuring you get close to the edges for a secure fit.
- Align the topper with the front of the blank card carefully.
- Press down firmly from the center towards the edges. For best results, use a bone folder or a similar tool to smooth out any bubbles and to make sure the topper is well adhered without damaging the card or the design.
Final Touches
- Inspect: After adhering, inspect the card for any edges that may need additional pressure or adhesive.
- Dry: If using glue, allow sufficient time to dry before handling further.
Tips
- Always perform a test print on regular paper to ensure the design aligns with your expectations.
- For an extra professional touch, consider using a scoring board to create a clean fold on handmade cards.
- Customize the card by adding additional decorations such as rhinestones, ribbons, or personal messages.
With these instructions, you’re all set to create beautiful, hand-crafted cards featuring the A2 card toppers for any occasion!